We'll cover adding a Standard Appointment here, but adding other appointment types is very similar.
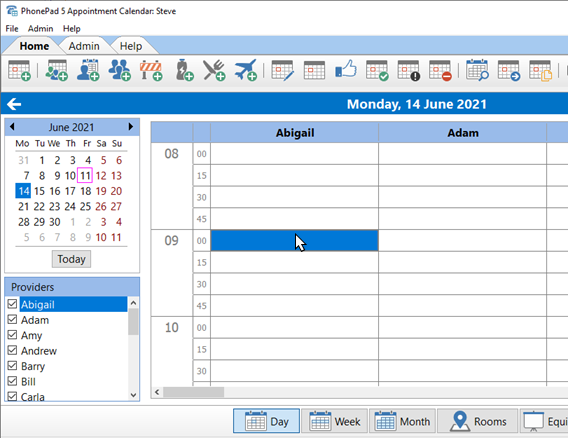
1.Click in a blank appointment slot in a User's column.
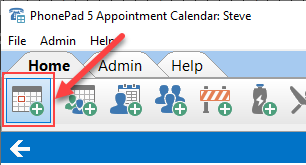
2.Click the Add Appointment button (or select New>Appointment from the File menu).
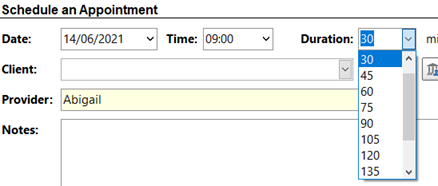
3.Select a Duration for the appointment.
4.Select a client from the drop-down list, or search for a client by typing their name.
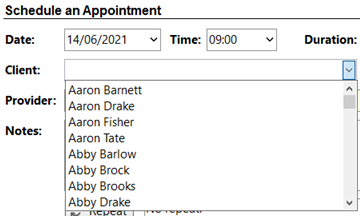
5.If the Client doesn't exist in the list, you can add them by clicking the New button (see Adding a Client from an Appointment).
6.If you need to allocate a room for the appointment, click on the Room button.
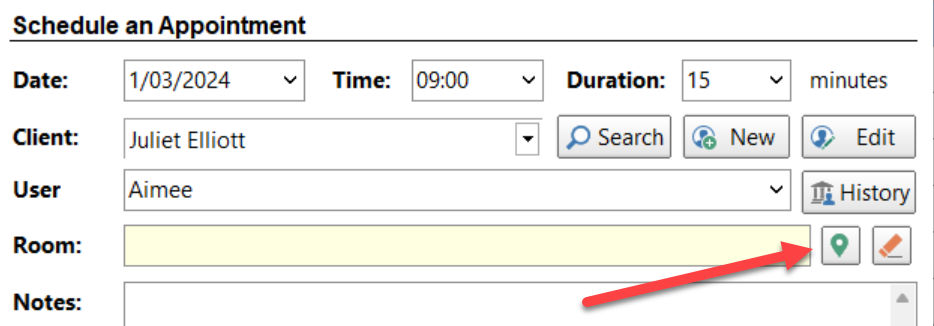
7.Add notes in the Notes field if needed.

8.If you want this appointment to repeat regularly then click the Repeat button (see Creating a Repeating Appointment).
9.You can make the appointment an all day appointment by clicking the All Day button (it will change to green). The Time and Duration drop-down lists will be disabled.
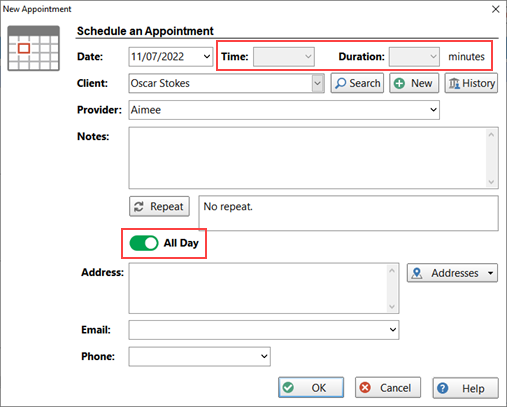
10.An address for the client can be typed in, along with an email address and phone number. You can also select their address by clicking the Addresses button and selecting either their Business or Home Address. Their address, phone number and email address will be filled in for you (if they exist in the Address Book).

11.Click OK to finish creating the appointment.