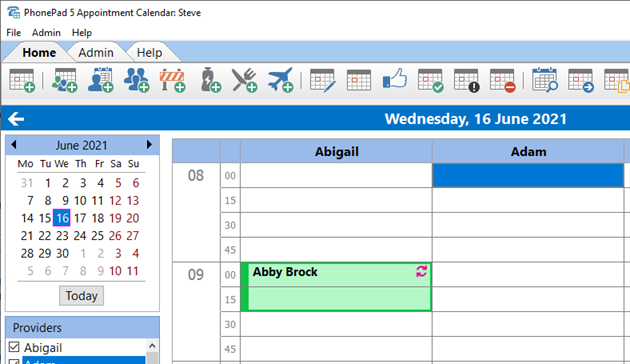
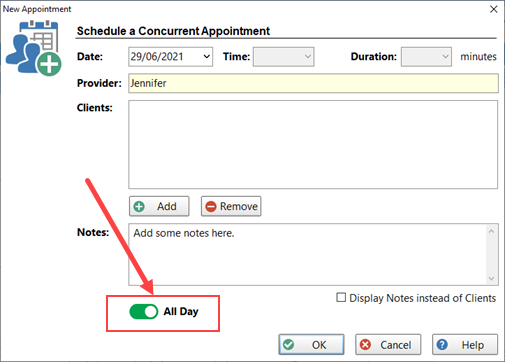
Concurrent Appointments are for situations where you book multiple clients for a provider at the same time.
1.Click in a blank appointment slot in a Provider's column.
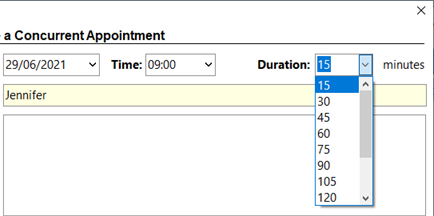
2.Click the Add Concurrent Appointment button (or select New>Concurrent Appointment from the File menu).

3.Select a Duration for the appointment.
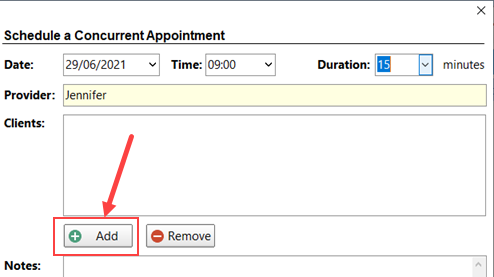
4.Add clients to this appointment by click the Add button (see Selecting Clients for more information).
5.Add notes in the Notes field if needed.
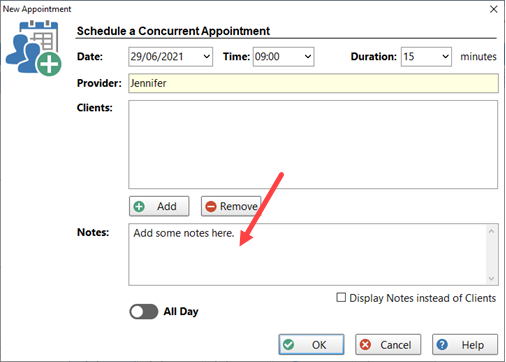
6.You can make the appointment an all day appointment by clicking the All Day button (it will change to green). The Time and Duration drop-down lists will be disabled.
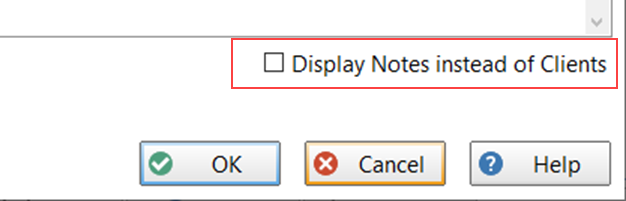
7.You can have the Notes display in the calendar instead of the clients by checking the Display Notes instead of Clients check box.
8.Click OK to finish creating the appointment.