Uploading Your Database for Repair


Uploading Your Database for Repair |
|
|
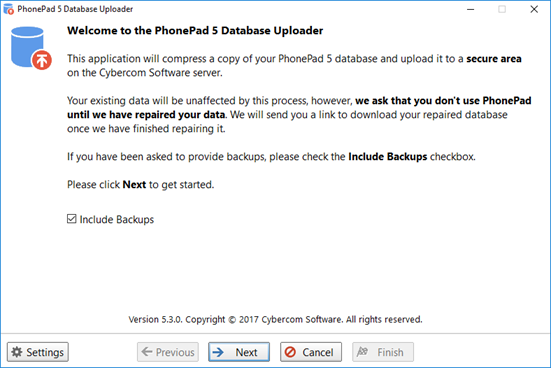
Before we can repair your database you will need to upload it to our secure server. Due to the specialized nature of this type of repair it's not possible for us to do this over-the-phone or by remote support.
1.Run Database Upload by right-clicking on the icon and selecting Run as Administrator from the popup menu.
2.Make sure the Include Backups check box is checked before clicking Next.
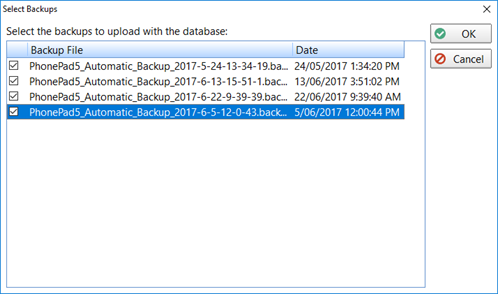
3.You will be prompted to select some recent backups.
4.It is recommended that you select at least a week's worth, starting with the latest backup.
5.Click OK to continue.
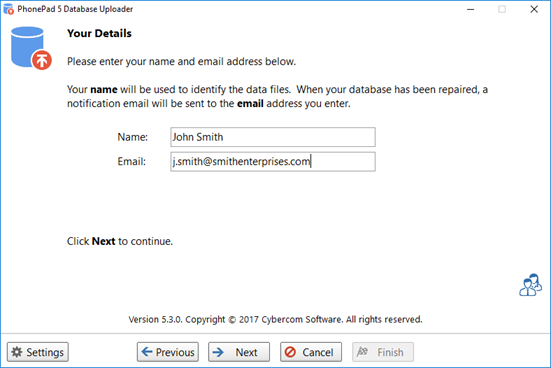
6.Enter your Name and Email address.
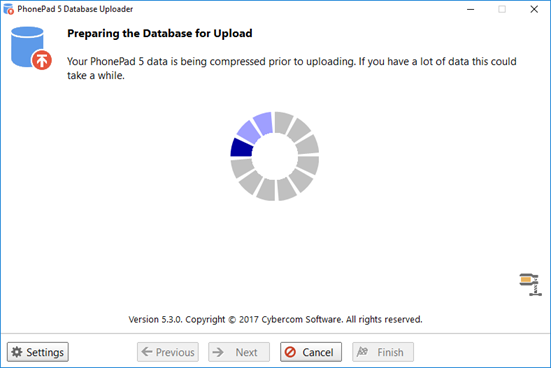
7.Click Next to continue. 8.f 9.To save time and to ensure none of your files go missing, a copy of your database will be compressed.
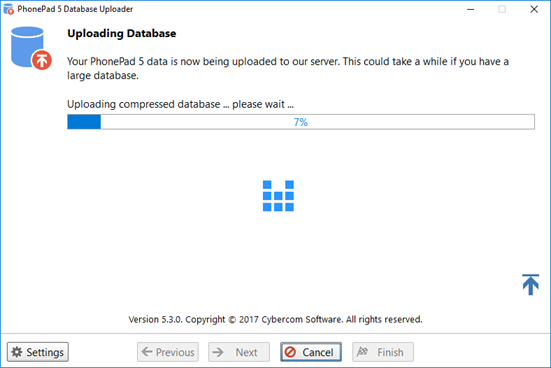
10.Once the compression has finished your database will be uploaded to our repair server.
11.This could take a while if you have a big database.
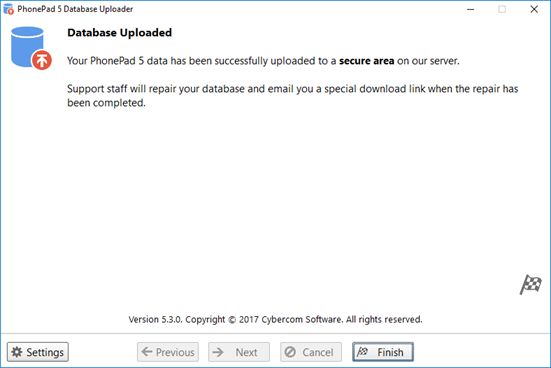
12.Once the upload has been completed click the Finish button.
|