Migrating Your Data


Migrating Your Data |
|
|
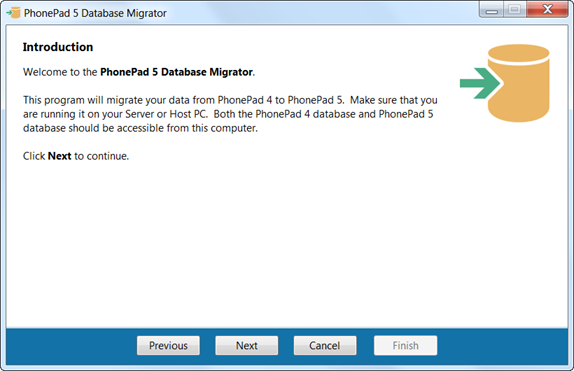
1.Run DatabaseMigrator.exe.
2.The Introduction screen will be displayed. Click Next to continue.
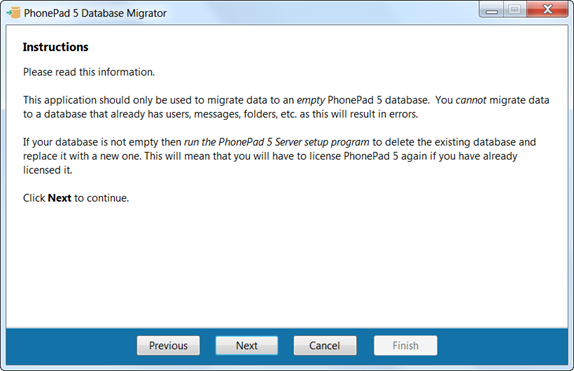
3.Read the Instructions on this screen. As the instructions state, you can only migrate your data over from PhonePad 4 if the PhonePad 5 database is completely empty. This to avoid any conflicts with the data that could result from combining new data with imported data. Click Next to continue.
4.You will need to select the location of your PhonePad data folder.
5.Click Next. The wizard will check the location you specified. If it can't find your PhonePad 4 database in that location it will show an error message.
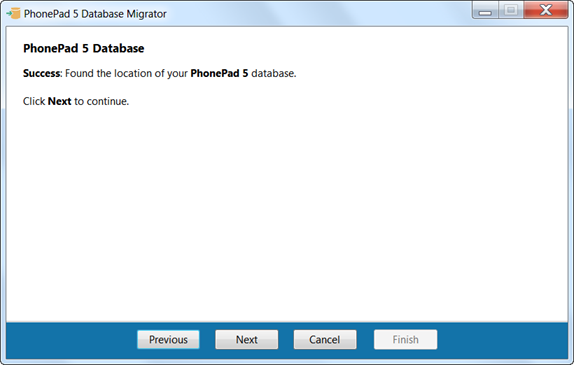
6.When the following screen appears, the wizard will attempt to locate your PhonePad 5 database. If it is unable to locate your PhonePad 5 database it will show an error message. Click Next to continue.
7.The wizard will attempt to connect to your PhonePad 4 database. If all goes well you should see a success message on this screen. Click Next to continue.
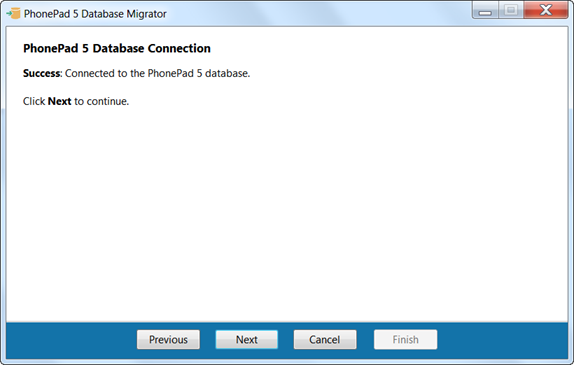
8.The wizard will then attempt to connect to your PhonePad 5 database. If everything is ok you should see a screen like the one below. Click Next to continue.
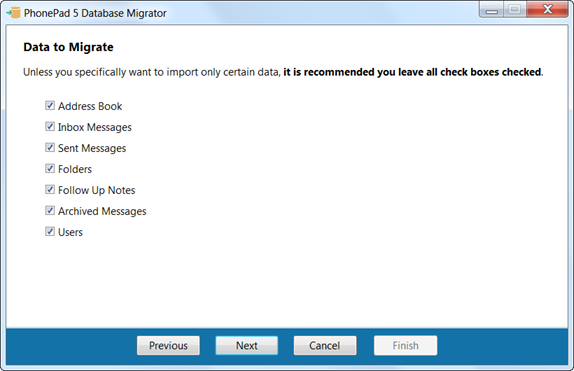
9.This screen allows you to select which data will be migrated to PhonePad 5. You should leave all check boxes checked unless you definitely don't want some data migrated. Click Next to continue.
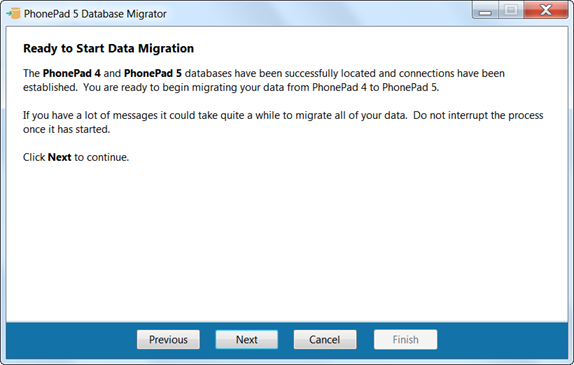
10.Things are looking good if you see this screen. All checks have been successful and the wizard is ready to go. Be aware that this could take a while if you have a lot of messages and/or contacts in PhonePad 4. Click Next to continue.
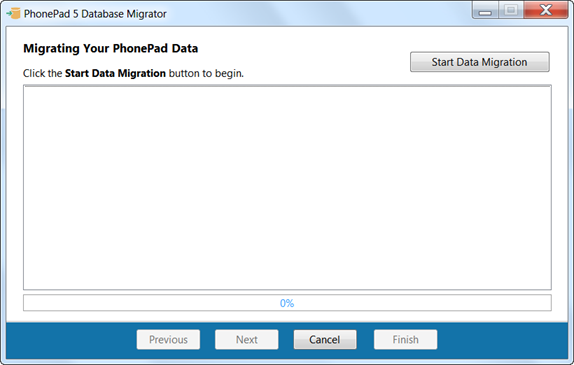
11.Let's kick it off. Click the Start Data Migration button to begin.
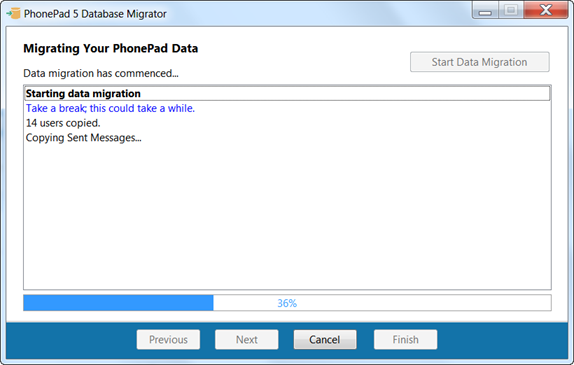
12.We're off and the transfer of data is in motion. Do not interrupt this process or you will have to re-create your PhonePad 5 database by reinstalling your PhonePad 5 Server.
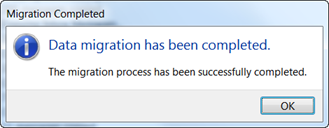
13.Hopefully all goes well and you eventually get this message:
14.Click the OK button, then click Next to continue.
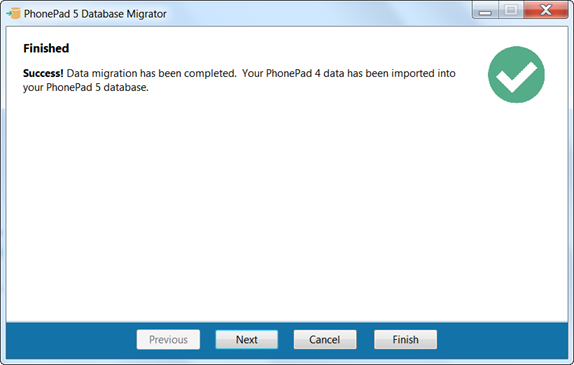
15.All of your PhonePad 4 data should now be in PhonePad 5. Click Finish to close the wizard.
So let's review what just happened:
•New user accounts were created in PhonePad 5 based on the usernames and passwords from PhonePad 4. Any users that had administrator rights will have system administrator rights in PhonePad 5. •All messages were transferred. •All follow up notes were migrated. •All folders, both public and personal were migrated. •All archived messages and follow up notes were migrated. •All Address Book contacts were transferred.
What wasn't transferred:
•Deleted messages were not transferred. •Any messages in the message queue for Automatic Message Forwarding (using MessageSender) were not transferred.
|