Customizing Labels


Customizing Labels |
|
|
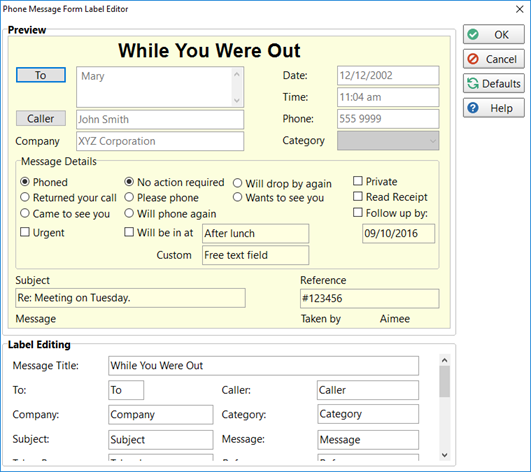
Many of the labels that appear on a phone message form can be customized using the Label Editor. These are system-wide settings so they apply to all users.
Select the Manager tab on the toolbar and click the Label Editor button, or select Label Editor from the Manager menu.
You can edit the labels by typing in the fields in the Label Editing area at the bottom part of the screen. The labels will change as you type in the fields.
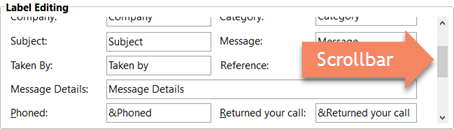
Not all label fields can appear on the screen at once so you may need to scroll the field into view using the scrollbar.
You can either select the tab that contains the field you want to edit, or click on the field in the Preview area and it will take you straight to the field.
Instead of scrolling through the fields trying to find the right field to edit, simply click on the label you want to edit. The scrolling area in the Label Editing area will jump to the correct field.
If you really mess things up and want to start again, click the Defaults button. The labels will revert to their original values.
|